Bicycle Rim Clock
Turn your bicycle wheel into a clock with these steps
-
Step 1
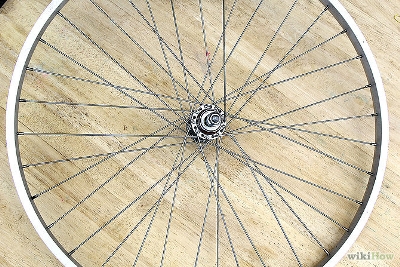
Take out your old bicycle rim. -
Step 2
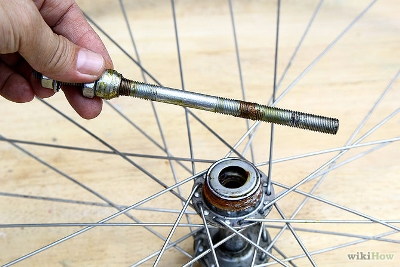
Remove any unwanted parts, including any protruding parts such as the hub. Clean your rim thoroughly. -
Step 3
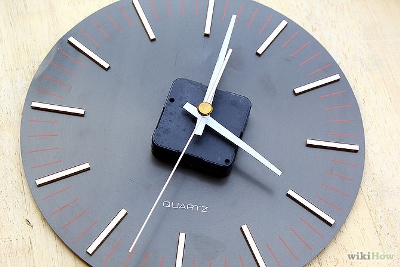
Find a suitable clock. The clock should be cheap, and should ideally have long hands. However, we will be making hand extensions, so if you cannot find a clock with long hands, do not worry. -
Step 4
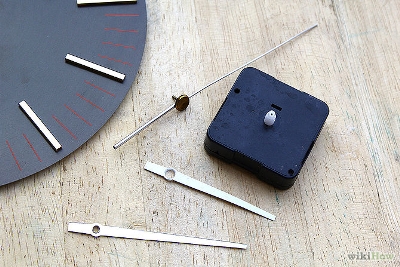
Disassemble the clock. Carefully remove the hands. -
Step 5

Make a sheet of aluminum out of an empty soda can by cutting down the sides of the can. This will be used for the hand extensions. -
Step 6
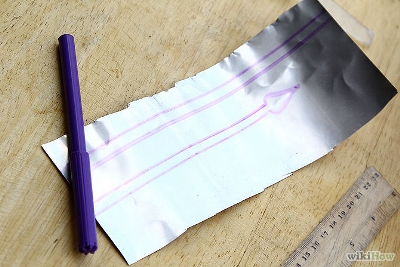
Measure the radius of the bicycle rim and cut hand extensions for the clock accordingly. Generally, the hour hand should be about 6 inches (15.2 cm), and the minute hand will be 8 inches (20.3 cm). Paint them if you would prefer a different color. -
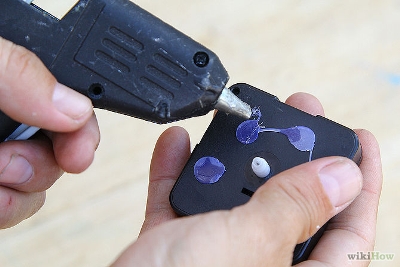
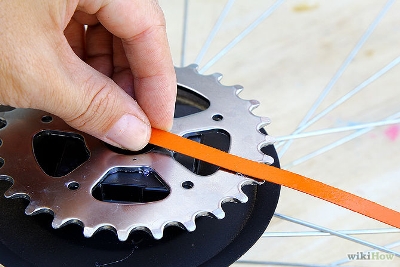
Step 7
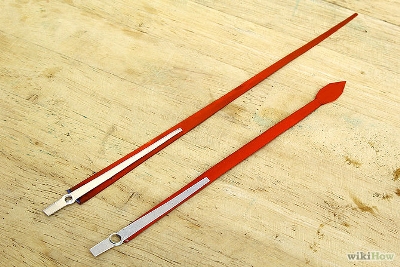
Glue the aluminum on top of the hands of the clock. Allow to dry. Use only superglue, do not use a heavy adhesive. Using a heavy glue may mess up the clock's mechanism. -
Step 8
If your bike wheel hub cover is still there, get it, you can still use that. (optional) -
Step 9
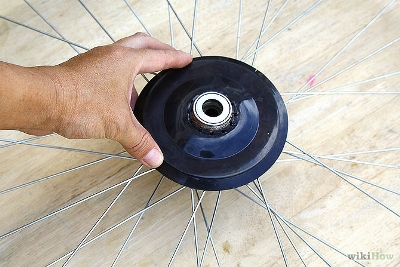
Place the bike wheel hub back on the center of the rim. -
Step 10
Get your movement (clock) use a strong adhesive on the front. You can hot glue it but keep in mind if your surroundings becomes warm this is not advised. You can use industrial glue for durability. -
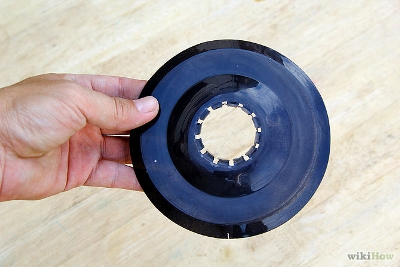
Step 11
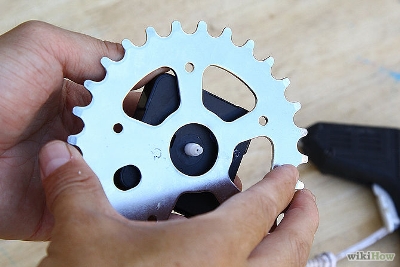
Hide the clock itself by placing a gear plate on top of it, use a strong adhesive. -
Step 12
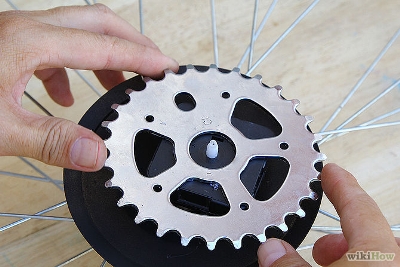
Place the clock on the center of the rim. -
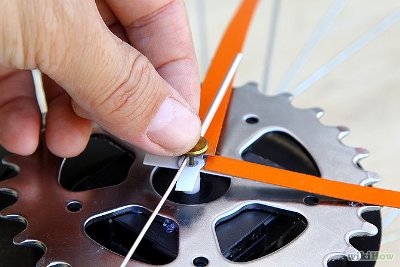
Step 13
Attach the hands on the clock. -
Step 14
Put in batteries and adjust the time. You should still be able to adjust the time as you would normally on the clock. -
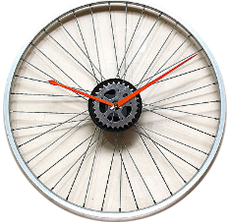
Step 15
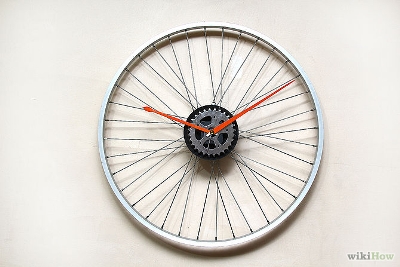
Hang your new decor on your wall and marvel at your work!